Adding modules
-
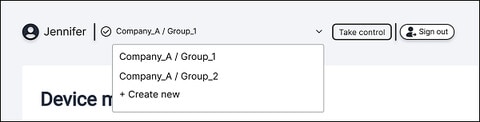
Tap the current organization and group in the upper left to open a dropdown menu, then select the organization and group where you want to add modules.
-
In
File information, tap the
Type field and choose the type of content you want to add.
You can add any of the following types of content:
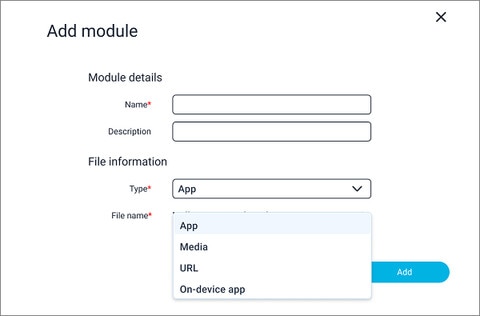
Type Description App Apps that are saved on your tablet. Tap Select file and select the APK file of the app you want to add.
Media Image, video, and audio files that are saved on your tablet. Tap Select file and select the file you want to add. After selecting an image or video file, tap the Video/image type field and choose whether the content is a Normal or 360 image or video.
URL Web link to content. Enter the web address of the content, then tap the Type field and choose Normal or WebXR based on the type of content on the website.
On-device app Apps that are installed on the headsets. You can add them to the group so you can remotely launch them on the headsets from your tablet. To add an on-device app, tap the From device field, select a headset, and then select the app you want to add.
In Content management, modules will be added to the list on the left side. VIVE Host will automatically sync the modules with the headsets when they're connected.