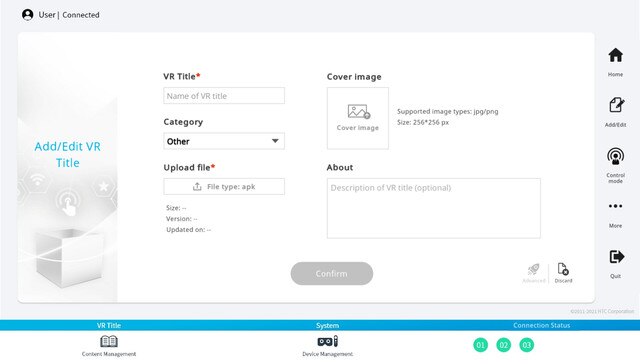
Adding VR titles from your device
If you have VR titles on your
Android device, you can add them to
VIVE Business Training.
-
Tap
Add VR title from this device.

-
In the
VR Title and
About fields, enter a name and description for the VR title.
-
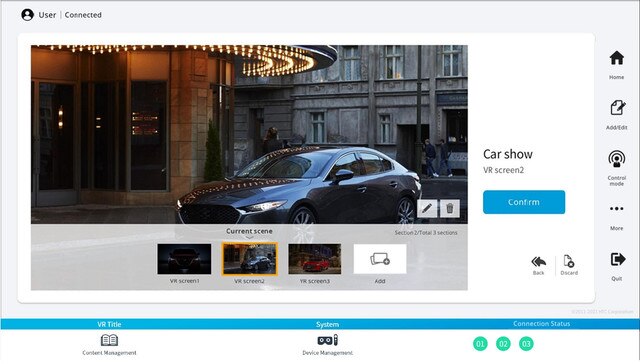
If you have screenshots of the VR title, tap
Advanced, and then do the following to add them to the title:
a) Tap Add. A new thumbnail will be created.
b) Tap
 . Tap the
Edit field, and then select the image you want to add. You can also enter a description for the image.
. Tap the
Edit field, and then select the image you want to add. You can also enter a description for the image.
Repeat the above steps to add more screenshots.
Note:
- After you've added a VR title, VIVE Business Training automatically pushes it to the headsets.
- To edit a VR title, repeat steps 1 and 2, tap the VR title, and then tap Edit VR title. After making your changes, tap Confirm.
Was this helpful?
Yes
No
Thank you! Your feedback helps others to see the most helpful information.