Adding VR headsets to groups
Add the VR headsets to each of the groups that you will manage in
VIVE Host.
Here's how.
-
Tap the current organization and group in the upper left to open a dropdown menu, then select the organization and group where you want to add devices.

-
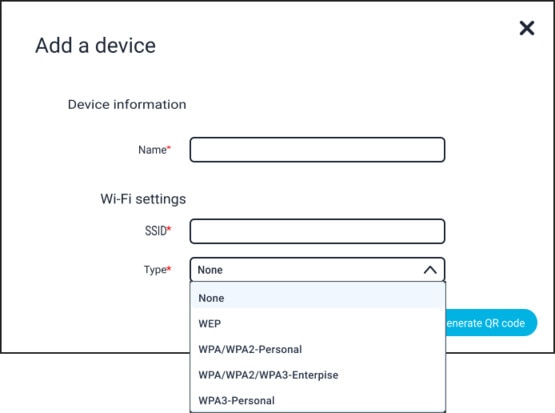
In the
Add a device dialog box, enter the following information:
- Name: Device name for the VR headset that you're adding to the group.
- Wi-Fi settings: Settings—SSID (network name), security type, and other required settings—for connecting the headset to the same wireless network your Android device is connected to.
Tip:- The maximum length for the device name is 13 characters.
- You don't need to fill in the Wi-Fi settings if the headset is already configured with these settings.
Was this helpful?
Yes
No
Thank you! Your feedback helps others to see the most helpful information.