-
Overview
-
Getting started
-
Assembly
-
Setup (headset and controllers)
-
Setup (play area)
-
Basics
-
Mixed reality
-
Additional accessories
-
-
Managing screenshots, files, and apps
- Connecting the headset to your computer
- Transferring screenshots and screen recordings to your computer
- Browsing and viewing files
- Viewing 360° photos
- Connecting an external storage device to the headset
- Transferring files between the headset and an external storage device
- Installing apps on the headset
- Installing APK files on the headset
- Uninstalling apps
- Changing app permissions
-
Using VIVE Manager
-
Sharing and streaming content
-
Settings
- Connecting to a Wi-Fi network
- Setting a device passcode
- Installing system and firmware updates
- Resetting your headset (factory reset)
- Adjusting the power frequency
- Choosing a display mode
- Setting a timeout for sleep mode
- Adjusting audio settings
- Choosing a tracking mode
- Pairing Bluetooth devices
- Setting up and using Kiosk mode
- Adding a VPN connection
-
VIVE XR Elite for Business
-
Solutions and FAQs
-
General
-
Hardware
- What should I do when the headset is unable to detect the controllers?
- How do I check the battery level of the headset and controllers?
- Why isn't the battery percentage displaying correctly?
- Why does my headset turn off when it's connected to a power bank?
- Why won't the headset turn on?
- How long is the USB-C to USB-C cable that comes with the headset?
- Can I connect a wired USB-C audio device to the headset?
-
Apps and content
-
- Contact Us
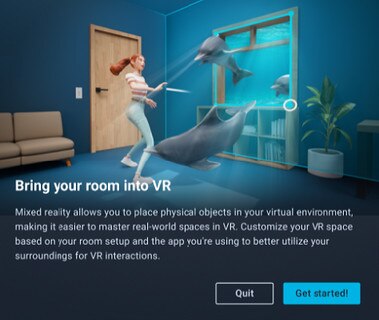
Setting up a mixed reality environment
Using the headset's depth sensor, you can first scan meshes of your room which can be used by mixed reality apps. Room scan can also auto-detect objects in your surroundings such as walls and tables.
The types of objects required by the mixed reality app you're using may vary. You can add them manually during MR room setup as needed.
Here's how to set up a mixed reality environment via MR room setup:
- From Home, select Settings.
- Select Boundary.
-
Select
Set up next to
Mixed reality.
If this is your first time to set up mixed reality, select Get started.
-
Select
Start and follow the instructions in the
Scan room dialog box to scan your room.
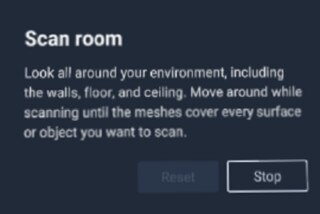
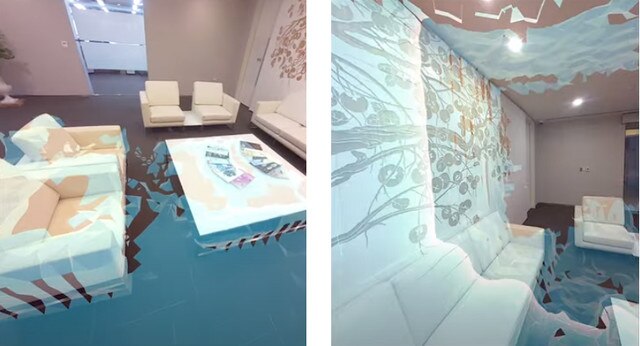
As you move and look around your environment, meshes will be created and will cover the surfaces and objects that you're scanning.
-
When you've finished scanning, select
Save.
The meshes and detected walls and tables will be saved in the headset.
Tip: If you need to perform another scan, select Scan room. -
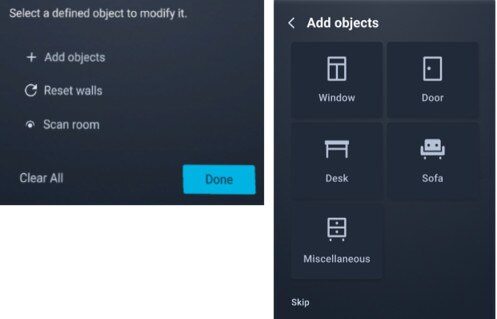
To manually define walls or add objects for the mixed reality app you're using, do the following:
-
Select
Reset walls to define walls in your room, or select
Add objects and then choose the type of object that your mixed reality app needs to use.
-
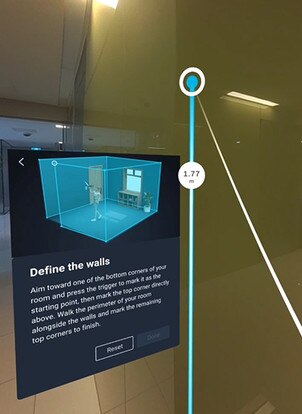
Follow the tutorial and use hand gestures or the controller to mark the perimeter of your walls or the dimensions of the selected object.
Defining walls via hand gestures Defining walls via the controller 
A measurement indicator will appear while you're marking the dimensions of your walls or the object you're defining.
-
Select
Reset walls to define walls in your room, or select
Add objects and then choose the type of object that your mixed reality app needs to use.